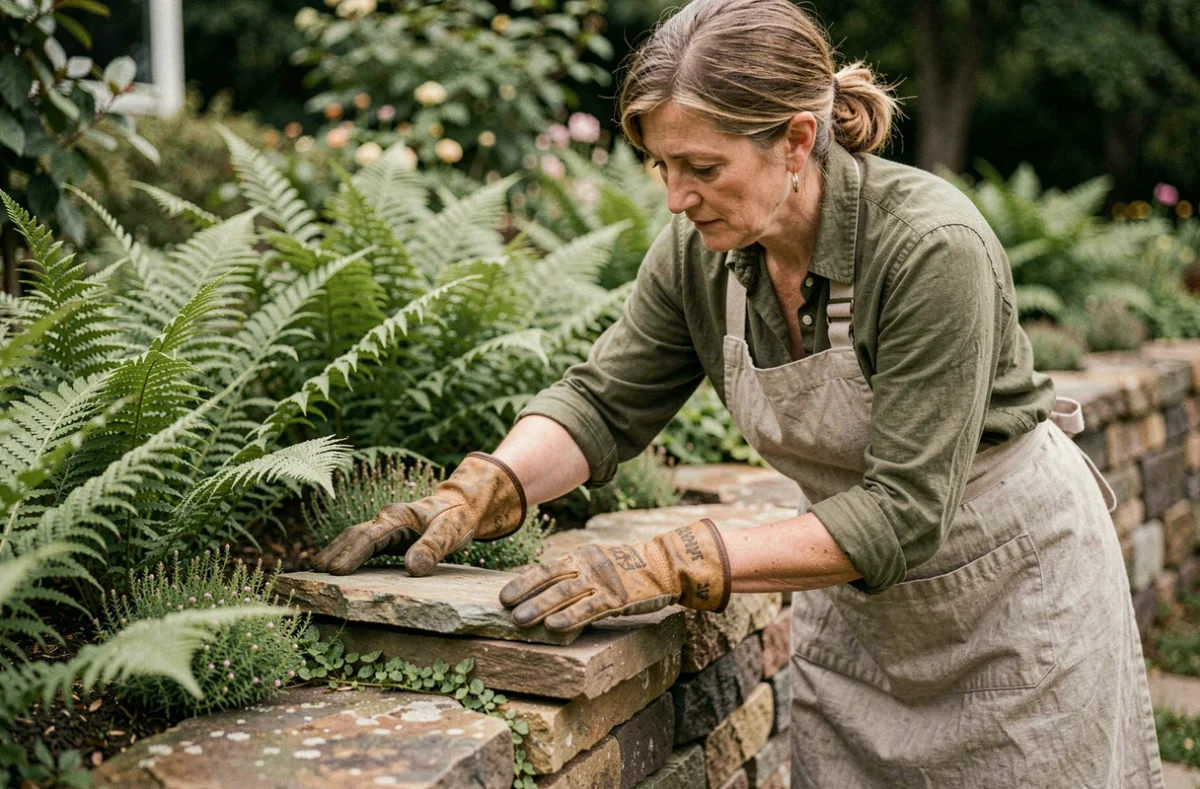
A sloping plot that loses its soil with every storm, a property boundary where the ground slowly slips downwards: it is often this type of situation that leads one to consider a stone embankment. Building a stable structure in your garden requires understanding the soil, choosing the right blocks, and ensuring proper drainage.
Here are the technical points that make the difference between a durable embankment and a pile of stones that will shift with the first winter.
Angularity and hardness of stones: what really holds an embankment
First, we think of aesthetics, but the shape of the blocks determines the stability of the whole. Angular stones fit naturally into one another, creating a mechanical locking effect that round pebbles will never produce.
For a structure that truly retains soil, we prioritize hard blocks, resistant to frost and sufficiently angular. Granite, hard sandstone, or dense limestone withstand mechanical stresses and freeze-thaw cycles well. A crumbly stone like soft schist disintegrates in a few seasons, especially on a north-facing side where moisture persists.
The choice also depends on what is available locally. Using a stone from the region reduces transportation costs and yields a result consistent with the landscape. You can inquire at nearby quarries or collect blocks during neighboring excavation work. As detailed in the guide on Terre d’Humus, the size of the stones should be adapted to the height of the embankment: the steeper the slope, the more massive the base blocks should be.
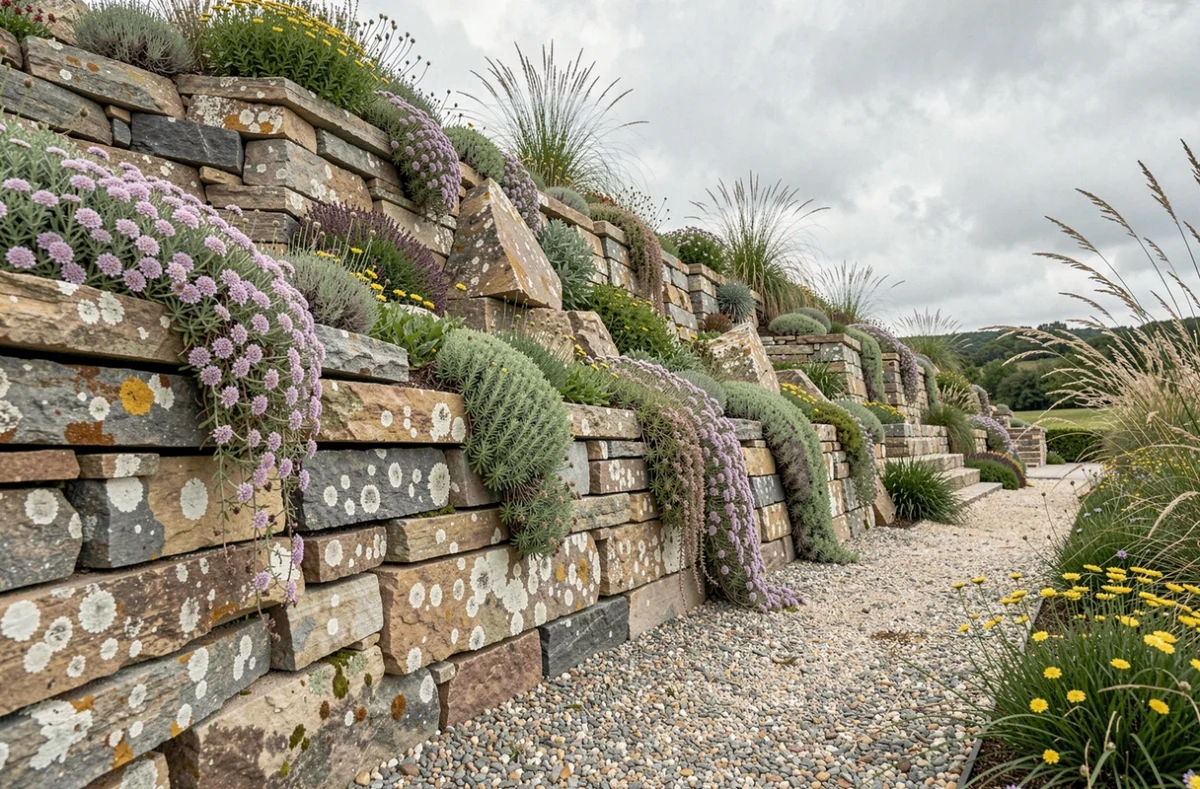
Drainage of the stone embankment: directing water to an outlet
A stone embankment allows water to pass through, which is its advantage over a concrete wall. But permeability does not mean effective drainage. Without effective drainage, water stagnates behind the blocks and hydrostatic pressure eventually pushes the structure outward.
The system consists of three complementary elements:
- A geotextile placed on the soil side, which prevents fine particles from clogging the gaps between the stones while allowing water to pass through. A sufficiently dense weight is chosen to withstand the pressure of the fill.
- A layer of draining material (crushed gravel or clean fill) between the geotextile and the blocks, which channels water down the embankment.
- A drain at the foot of the embankment, connected to a clear outlet (ditch, inspection chamber, stormwater network). This is the point that many forget: if the drain leads nowhere, water accumulates at the base and weakens the foundations of the structure.
On clay soil, this precaution is even more critical. Clay swells when it absorbs water and exerts additional pressure against the stones. Checking the nature of the soil before laying the first block prevents discovering the problem later.
Foundation and implementation of a rock embankment
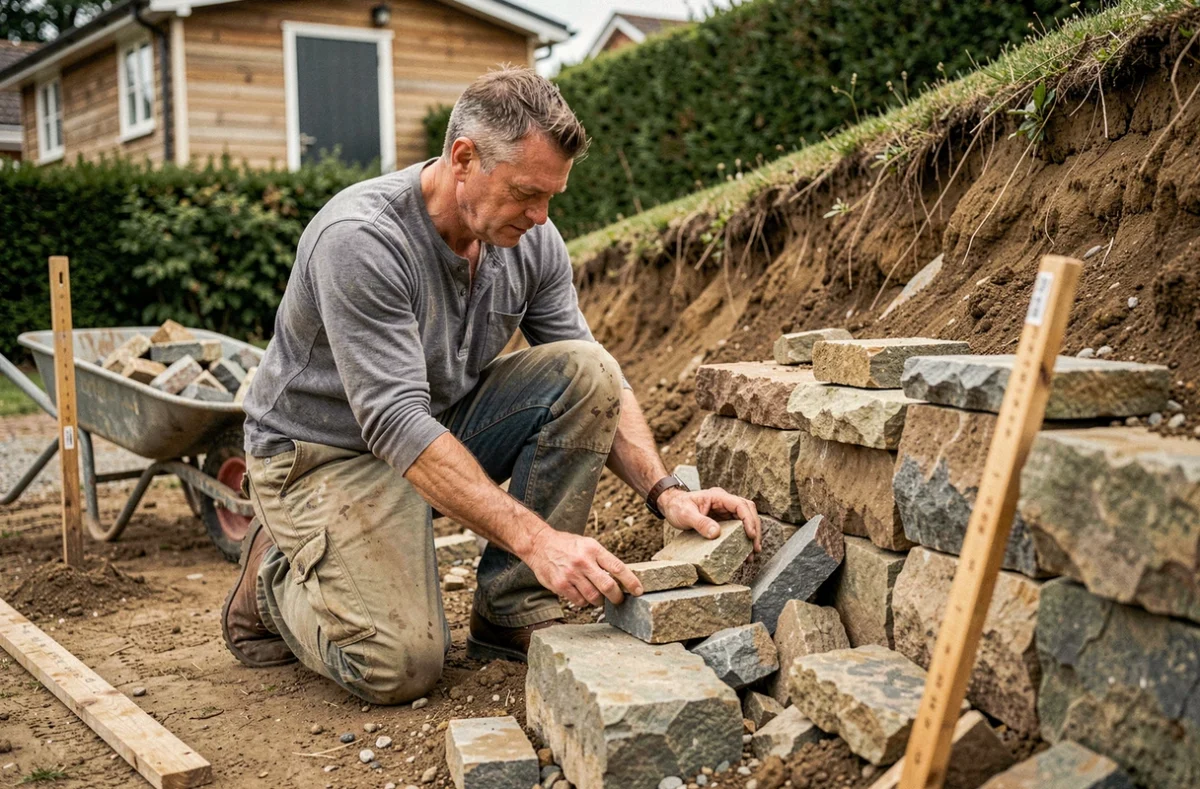
Blocks should not be placed directly on topsoil. The first step is to excavate a foundation to a depth sufficient to partially bury the base row. This foundation trench must reach stable soil, beyond the loose layer.
Preparing the base of the embankment
The bottom of the trench receives a layer of compacted gravel. This footing distributes the loads and prevents the blocks from sinking unevenly. On a sloping site, you dig in steps so that each section rests flat, even if the overall embankment follows the natural incline.
Stacking the stones in a staggered pattern
Each row offsets the joints relative to the previous one. This is the same principle as a brick wall: the staggered pattern prevents the creation of vertical break lines. The largest blocks go at the bottom, and the smaller ones at the top. Each stone is slightly tilted backward (toward the embankment) so that the weight of the fill presses the structure down instead of pushing it outward.
Between the blocks, you can leave pockets of soil to plant later. These spaces should not go through the entire thickness of the wall, otherwise water creates preferential paths that erode the fill.
Vegetating a stone embankment: stabilizing and beautifying
The roots of plants play a real mechanical role: they anchor the soil between and behind the stones. A planted embankment resists erosion better than a bare mineral embankment, especially in the upper joints where runoff is most active.
Choose species with deep roots and fast growth for exposed areas. Sedums, creeping thymes, or helianthemums colonize the joints between the stones without exerting pressure on the structure. For wider pockets of soil, low grasses or persistent ground covers limit weeding.
Planting in the fall gives the roots time to settle before the winter rains and the resumption of vegetation in spring. On a south-facing embankment, a mineral mulch (fine gravel or pumice) around the plants reduces evaporation without retaining moisture against the crowns.
Prior declaration and regulatory limits for a stone embankment
In France, excavation work does not always go unnoticed by urban planning authorities. Article R.421-23 of the Urban Planning Code states that a prior declaration may be required for excavations or fill exceeding two meters in height and covering an area of at least one hundred square meters.
A large-scale rock embankment falls into this category. Checking local urban planning rules before starting work remains the reflex to have, especially since some PLUs impose specific materials or maximum heights at property boundaries. On a co-owned plot or at a party wall boundary, the question of liability in case of soil push on the neighboring property should be raised in advance.
A well-designed stone embankment combines blocks suited to the terrain, drainage that leads to a real outlet, and vegetation that reinforces the structure. The slope, soil type, and exposure dictate the technical choices. On very steep clay soil, the margin for error is small, and a technical opinion before starting can prevent having to redo the work two years later.